
Black Mould on Silicone Sealant: How to Clean It and When to Replace It
Why the silicone around a bath, shower or sink turns black, what cleaning can and cannot do once mould is inside the bead, and how to decide between cleaning and resealing.
Quick answer
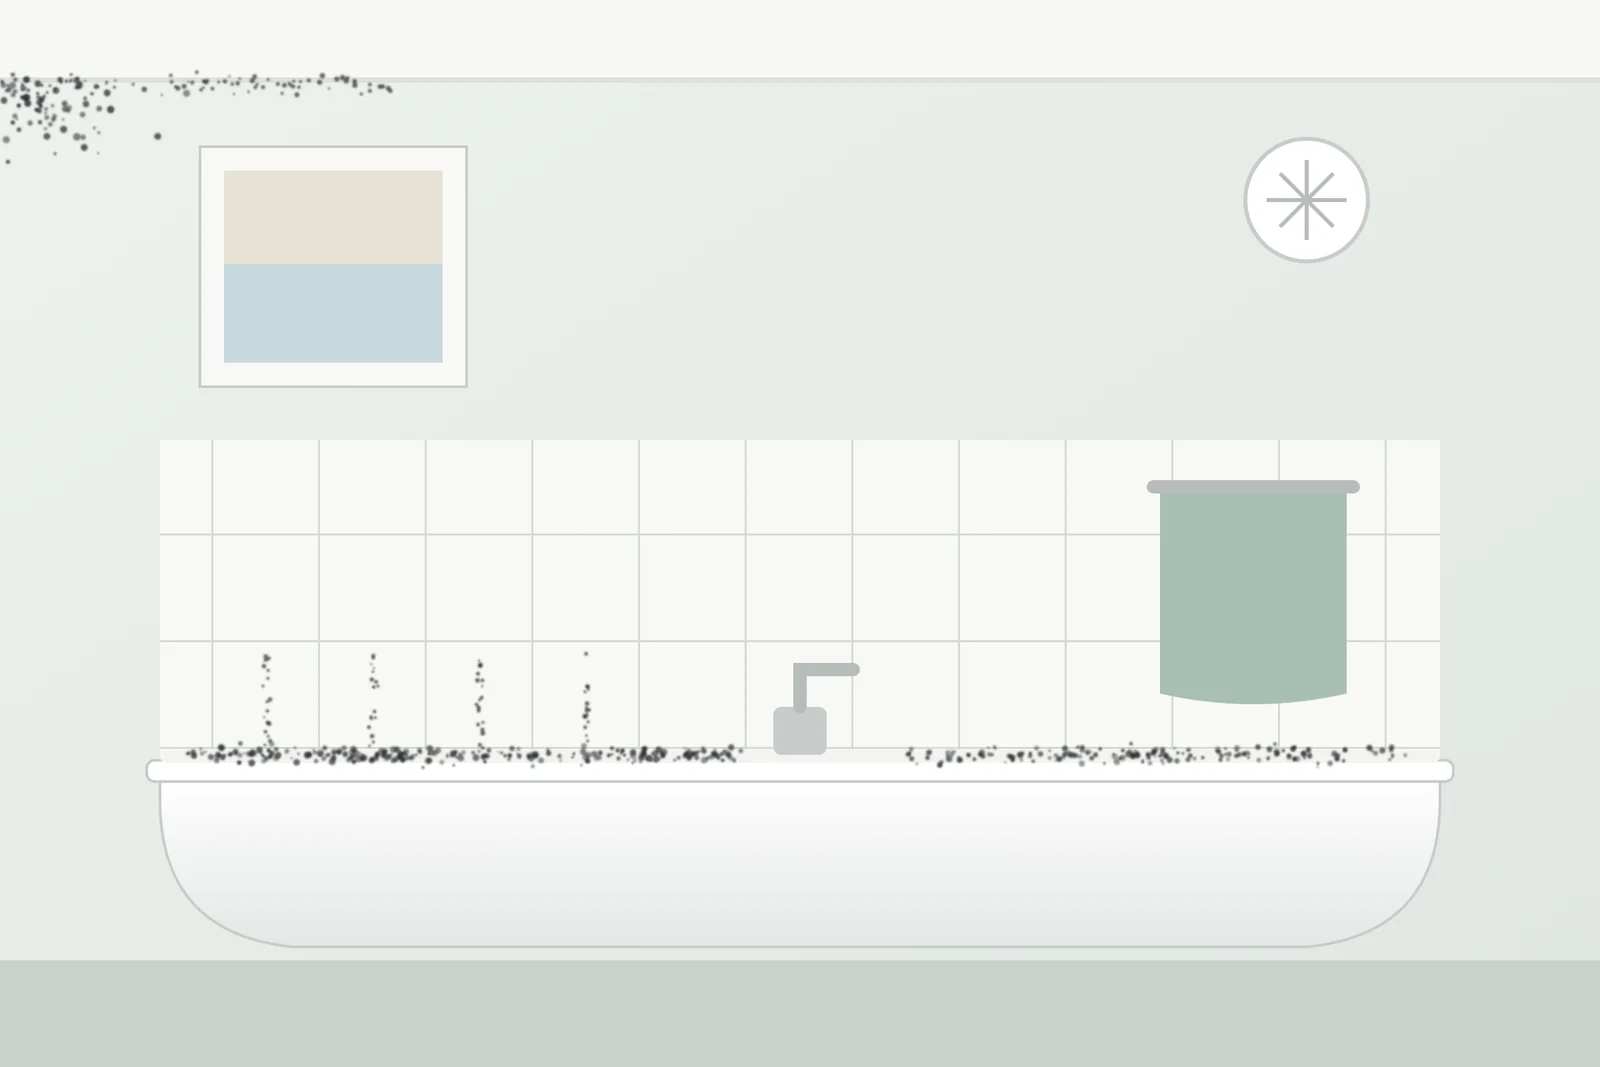
Black mould on silicone sealant is condensation and splash water sitting in the joint around a bath, shower tray or sink for hours every day. If the black is on the surface of the bead, a mould and mildew product, left on for the time on the label and wiped off, will clear it. If the black is inside the silicone (it looks the same after cleaning, or the stain runs under the surface), the mould has grown into the bead and no product will reach it: the sealant needs cutting out and replacing with a sanitary silicone that contains a fungicide. Either way it comes back unless the joint is kept dry: run the extractor fan, wipe the bead after showers and fix any gap that lets water behind it.
On this page
Why silicone goes black
Silicone sealant is flexible and waterproof, which is why it is used where a bath, shower tray, basin or worktop meets tiles. It is also a surface that stays wet for longer than anything else in the bathroom. After a shower the joint at the bottom of the tiles holds a film of water and soap, the fan goes off, the door shuts, and the film is still there in the morning. Mould needs a surface that stays damp; building standards use about 80 per cent surface humidity, held for long periods, as the risk line, and a wet bead is far beyond it.
New sanitary silicone contains a fungicide that slows growth for a few years. It leaches out with washing and cleaning products, and the bead surface roughens with age, so an old joint that has stayed clean for years suddenly starts to spot. Soap scum, hair conditioner and shower gel residue feed it; a bead that is always slightly grey with residue is the one that goes black first.
Two things make it worse:
- A gap or crack in the bead, or a bead that has come away from the tile or the tray. Water gets behind it and sits there, the mould grows from the back, and the joint may also be leaking into the floor or the ceiling below. See damp patch on a ceiling.
- A bathroom that never dries out: no extractor fan, or one that stops with the light, and a door kept shut. The extractor fan guide covers the checks.
On the surface, or in the bead?
This decides everything, so look before you clean.
| What you see | Where the mould is | What works |
|---|---|---|
| Black or grey speckles on the face of the bead, around the edge where it meets the tile, or in the soap film on it | On the surface | Cleaning with a mould and mildew product |
| Black that looks the same after a proper clean with the right contact time | Inside the silicone | Cut out and reseal |
| A dark line along the back of the bead, visible through it, or black behind a bead that has lifted | Behind the bead, on the tile or tray edge | Cut out, clean the surfaces, reseal |
| Pink or orange slime rather than black spots | Bacterial film on the surface, common in showers | Cleaning; keep the joint dry |
| Black spots on the grout above the silicone as well | Surface mould on porous grout | Clean the grout separately; see the note on grout below |
The quick test: clean once, properly, with the full contact time on the label. Surface mould comes off. Mould in the bead does not, and no second product or stronger bottle changes that; it just adds fumes and risk.
How to clean surface mould off silicone
This follows the same UK guidance as the rest of this site: GOV.UK prefers mould and mildew products to bleach for health and safety reasons; Oxford City Council allows a bleach-based mould spray for small areas on windows and bathroom tiles; and the Energy Saving Trust says to wipe mould only when it is wet and to bin the cloth. Pick one product and use it alone.
- Ventilate: window open, fan on, door shut to the rest of the home. Put on gloves, goggles and a mask. The product is going on at eye level or below and will splash.
- Rinse the bead with plain water to remove soap film so the product reaches the mould.
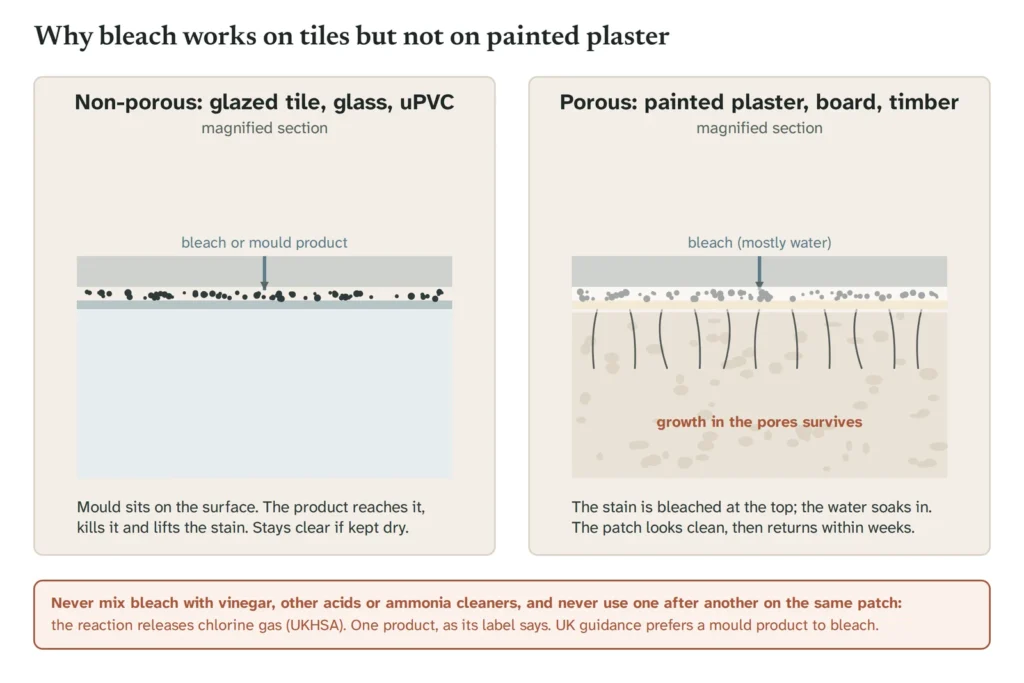
- Apply one mould and mildew product along the bead. A spray labelled for mould and mildew, or a bleach-based mould spray used as its label says. Do not use thin household bleach from the cupboard, and never mix products or use one after another on the same joint: bleach with vinegar, lemon juice, a descaler or some toilet cleaners releases chlorine gas (UKHSA).
- Leave it for the contact time on the label. This is the step people skip. Spraying and wiping off immediately does very little.
- Wipe along the bead with a disposable cloth. A cotton bud or an old toothbrush you will throw away gets into the angle between the bead and the tile. Do not scrub hard enough to tear the silicone.
- Rinse with clean water and dry the joint with a second cloth.
- Bin the cloths and buds. Wash your hands and forearms.
What not to do: do not scrape the bead with a blade to “get the black off” (you will cut it and let water in), do not use abrasive creams or pads (they roughen the surface and make the next growth faster), and do not paint or seal over it.
A note on vinegar and other “natural” methods: undiluted white vinegar left in contact can deal with light surface growth, but it does not remove the black stain and it cannot reach mould inside the bead. The bleach versus vinegar guide goes through what each product does on each surface. Whatever you use, never let it meet bleach.
When to replace the silicone
Replace rather than clean when:
- The black stays after one proper clean. It is inside the bead.
- The bead has lifted, cracked, shrunk away from the tile or tray, or is soft and crumbling.
- Water is getting behind it. A ceiling stain below a bathroom, a soft floor beside the bath, or a musty smell under the bath panel are signs.
- The bead is old, discoloured all along its length and has been cleaned many times. Fungicide has long gone and the surface is porous.
Replacing sealant is a job most people can do with care, and a bathroom fitter can do quickly. The outline, with the detail left to the sealant manufacturer’s instructions:
- Cut out the old bead completely with a sealant remover tool or a sharp blade, taking care on acrylic baths and trays, which scratch. Every trace of old silicone has to come off, or the new bead will not bond; a silicone remover gel and a plastic scraper deal with the residue.
- Clean the joint and the surfaces either side with a suitable solvent as the sealant maker recommends, and let it dry completely. Mould behind the old bead should be cleaned off the tile and tray edge at this stage.
- Fill the bath before sealing it, if it is a bath. The weight opens the joint slightly; sealing it full means the bead is not stretched every time someone gets in.
- Apply a sanitary (bathroom or kitchen) silicone that contains a fungicide, in one continuous bead, and tool it smooth. Masking tape either side gives a clean edge.
- Leave it to cure for the time on the tube before the shower or bath is used. Silicone that gets wet before it has cured will fail early.
This site does not name brands. Look for “sanitary”, “bathroom” or “anti-mould” on the tube, and follow that tube’s instructions on surface preparation and cure time rather than a general article, including this one. Full guides to removing old sealant and applying a neat new bead are in preparation for this topic.
Keeping it clear afterwards
Cleaning or resealing buys you a clean joint. Keeping it clean is about the water.
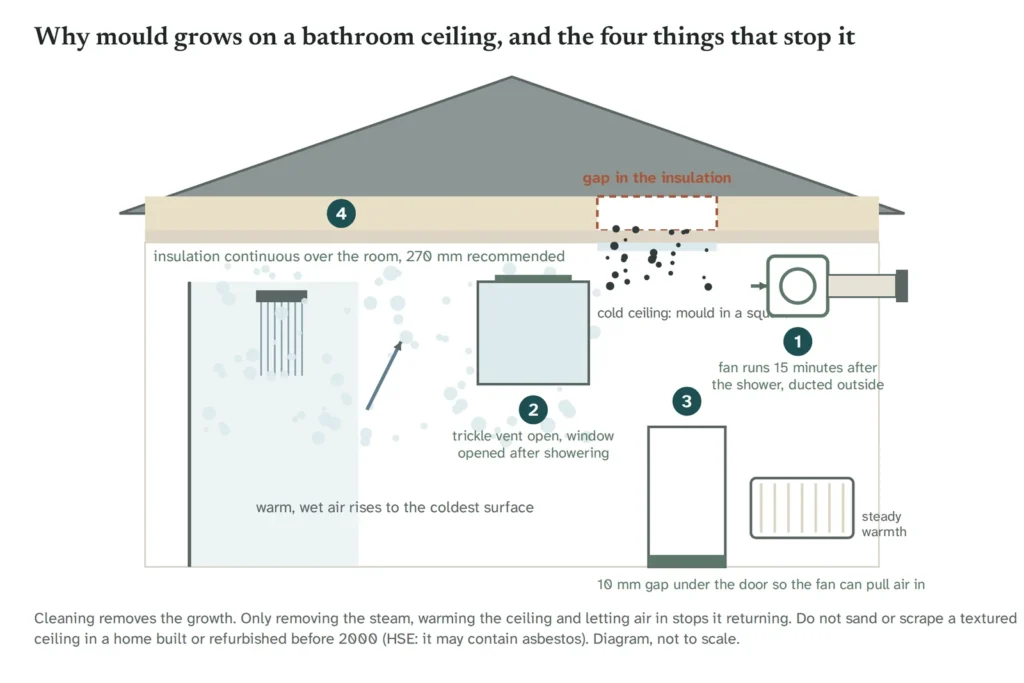
- Run the extractor fan during and for at least 15 minutes after every shower or bath (Energy Saving Trust), with the door shut so the steam leaves through the fan.
- Wipe the bead and the bottom row of tiles after showering. A squeegee on the screen and tiles and a cloth along the bead takes thirty seconds and removes the water the mould needs.
- Rinse soap scum off the bead now and then; it is what the mould feeds on.
- Fix any gap the day you notice it. Water behind a bead is a leak in slow motion.
- Keep the room’s humidity down between showers: trickle vent open, window opened after use. The mould on a bathroom ceiling guide covers the same room from the ceiling down.
Grout, tiles and the rest of the bathroom
Grout is porous, so surface mould on it behaves more like mould on a painted wall than on silicone: a mould product helps, growth in the pores may survive, and grout that stays black or is crumbling needs raking out and regrouting. Glazed tiles are non-porous and clean easily. A separate guide to removing mould from grout is in preparation; the surface-by-surface table in the bleach guide covers the essentials meanwhile.
Health and who should do the cleaning
If anyone in the home is in a GOV.UK higher-risk group for damp and mould (people with lung or heart conditions or allergies, weakened immune systems, pregnant women and those who have recently given birth, children and young people, older people, people with a mental health condition, and anyone bedbound, housebound or with mobility problems), someone else should do the cleaning with them out of the room, and a bathroom that keeps growing mould should be treated as a ventilation problem to fix rather than a chore to repeat. Health questions are for a GP or NHS 111.
If you rent
If you rent, report it in writing with dated photographs and keep a copy. Under Awaab’s Law, from 27 October 2025 social landlords must investigate a potential hazard within 10 working days, make significant damp and mould hazards safe within 5 working days of identifying them, complete emergency safety works within 24 hours and offer alternative accommodation if they cannot. Private renters are due to be covered under the Renters’ Rights Act at a later date; meanwhile the council’s environmental health team can inspect a private rented home. Shelter and Citizens Advice cover the legal side; this site does not give legal advice.
Cleaning a mouldy bead is reasonable to expect of a tenant; a bead that has failed and is letting water through, or a bathroom with no working fan, is a repair to report.
Sources
- Understanding and addressing the health risks of damp and mould in the home, GOV.UK (DLUHC and UKHSA), updated 1 April 2026
- Get rid of mould, Oxford City Council
- Fixing damp and condensation, Energy Saving Trust, updated 22 May 2026
- Sodium hypochlorite: general information, UK Health Security Agency via GOV.UK, updated 24 April 2025
- How Awaab’s Law changes the rules on hazards in social housing, Shelter, October 2025